By Werine Erasmus, The Happy Renovator
Most of us have picked up a paintbrush or roller at some point in our life to spruce up a wall or two. After all, it is one of the less daunting DIY tasks in the world of renovation, right?
In saying that, have you ever perused a room and thought to yourself: That’s a terrible paint job!
Yep, I thought so. The reason we have all experienced this thought is because the real key to painting is not spelled out to us when we go shopping for the paint.
And here it is:
The secret to a beautifully painted room is meticulous preparation!
It doesn’t matter how many hours you spend rolling the wall, or how many coats are applied, if the preparation was not done properly, the paint job will always look average.
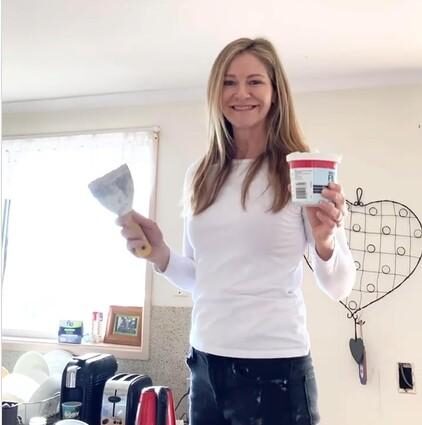
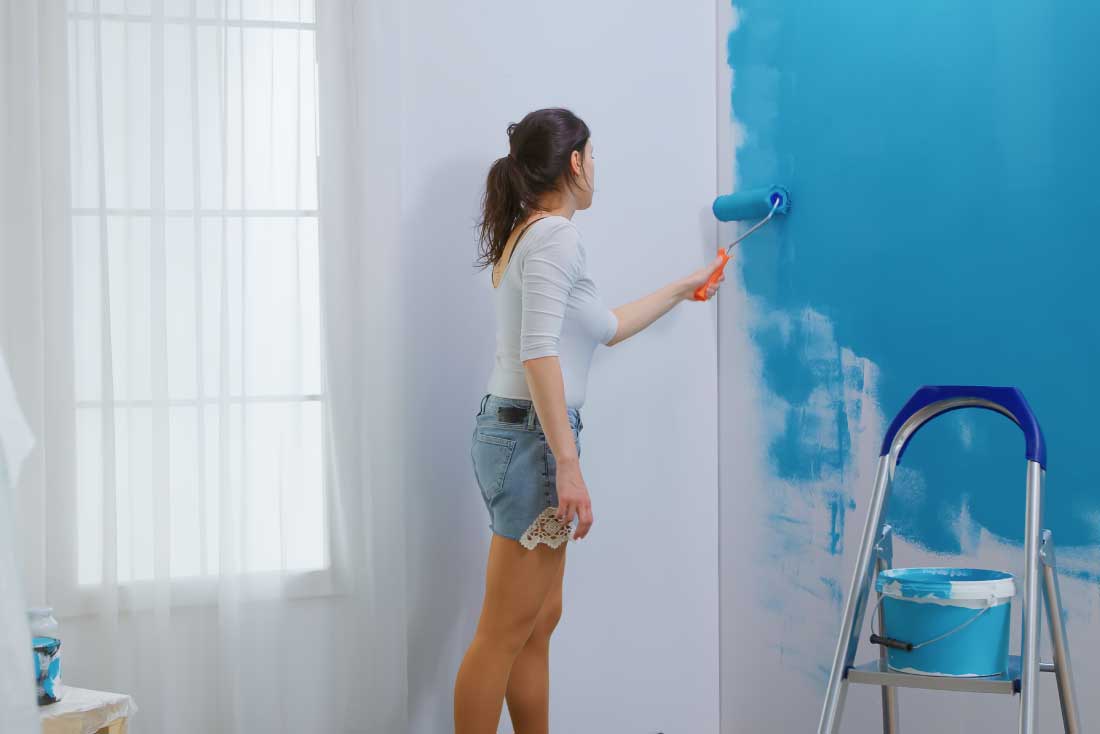
The actual painting is the easy part. It is the preparation that requires endless elbow grease, and it is messy, dusty and at the best of times, not much fun.
The preparation process includes filling holes, sanding, washing walls, filling gaps, taping, and more and more sanding, all of which require dedicated tools to accomplish a smooth and professional finish.
The painting part of a renovation also requires you to make a lot of decisions. This usually catches most of us by surprise once we are at the paint desk and the customer service person fires all these unexpected questions at us, such as:
- Are you using a primer?
- Do you want gloss, satin, or matt pant?
- Do you want water or oil based?
- Do you need a stain blocker?
- Are you rolling or spraying?
This can be very daunting moment, especially if you are a first-time renovator.
Sometimes, just selecting colours can be a painstakingly long process. Getting the sample cards, taking it home to view against the wall, then getting the sample pots, then painting it on, etc.
And you haven’t even begun to understand all the equipment and products required for the preparation part, yet, either!
There is a lot to learn about paint techniques, colour selection, brush selection and most importantly, the preparation required.
But here are five pointers I hope will help you prepare for your painting project:
- Take the time to understand the preparation material and tools required for the surface you are working on. For example, you may need a different type of patching compound for a masonry wall as opposed to a plasterboard wall. When talking to your local paint provider, ensure you explain the detail of your project to them so that they in turn can provide you with the correct advice.
- Don’t start painting until you are 100 per cent satisfied that the preparation was done thoroughly. There is nothing worse than standing on top of a ladder painting and realising there is another hole to patch and sand.
- The big brand paint companies and retail outlets offer colour consultancy services and virtual planning tools enabling you to experiment with colours without sending a cent. Using a photo of the internal or external view of the property, the colour consultant will be able to demonstrate and recommend colour options for project.
- Instead of painting a sample paint directly onto a wall, paint the colour onto a larger poster board or cardboard. The sample board can now be moved around the wall easily so that you can view the colour in different lights and times of the day to make the right choice.
- Whether it is enamel, water-based, high-gloss, semi-gloss, textured or mould-resistant paint that you need, ask the paint specialist to recommend the best type of brush or roller for the smoothest application for that particular paint.